Chest woodworking plans take you on a captivating journey into the world of craftsmanship.

These plans provide step-by-step guidance for creating a stunning and functional chest, from selecting the best materials to mastering joinery techniques.
The satisfaction of handcrafting an heirloom piece that will stand the test of time is unmatched.
So put on your apron, sharpen your tools, and get ready for a world of craftsmanship that awaits you.
Key Takeaways
- Different types of wood, such as oak, maple, cherry, and walnut, have unique characteristics and strengths for building a chest.
- Essential tools for chest woodworking include a circular saw, chisels, mallet, router, sander, clamps, and various measuring and marking tools.
- The step-by-step construction process involves measuring and cutting wooden panels, using joints like dado, rabbet, and dovetail for joining, and attaching the bottom panel using a tongue and groove joint.
- Safety precautions, such as wearing safety goggles and gloves, using clamps, and keeping the workspace clean, are important during woodworking. Finishing techniques like staining and varnishing, along with hardware selection, enhance the chest's appearance and functionality.
Materials and Tools Needed
To begin constructing a chest, gather the necessary materials and tools required for the project. When it comes to woodworking chests, choosing the right type of wood is crucial. Different types of wood have their own unique characteristics and strengths. Some common types of wood used for chest woodworking include:
- Oak: known for its durability.
- Maple: offers a smooth and even finish.
- Cherry: valued for its rich color and grain pattern.
- Walnut: prized for its dark and luxurious appearance.
In addition to the right wood, essential tools are necessary for woodworking a chest. These tools include:
- Circular saw
- Chisels
- Mallet
- Router
- Sander
- Clamps
- Various measuring and marking tools
With the right materials and tools, you can embark on creating a beautiful and functional chest.

Step-by-Step Construction Process
Commence the construction process of the chest by carefully measuring and cutting the wooden panels according to the desired dimensions. Ensure accuracy in your measurements and use a table saw or circular saw to make precise cuts.
Once the panels are cut, follow these steps to assemble the chest:
- Joinery Techniques:
- Use a dado or rabbet joint for joining the sides and front panels.
- Employ dovetail joints for connecting the corners of the chest for added strength and aesthetic appeal.
- Attach the bottom panel using a tongue and groove joint to create a seamless and sturdy base.
- Safety Precautions:
- Wear safety goggles and gloves to protect yourself from any potential injuries.
- Use clamps to secure the wooden panels firmly in place during assembly.
- Keep the workspace clean and free of clutter to avoid accidents.
Finishing Techniques and Tips

When it comes to adding the final touches to your wooden chest, employing proper finishing techniques is essential for achieving a professional and polished look. One of the most common techniques used is staining and varnishing. Staining allows you to enhance the natural grain and color of the wood, while varnishing provides a protective layer that enhances durability and brings out the wood's natural beauty. To achieve the desired finish, it is important to choose the right type of stain and varnish for your project and apply them correctly.
Another important aspect of finishing a wooden chest is choosing the right hardware. This includes hinges, handles, and latches that not only complement the overall design but also function well and withstand the test of time.
Proper finishing techniques and careful selection of hardware will elevate your wooden chest from a simple woodworking project to a masterpiece that exudes craftsmanship and elegance.
Customization Ideas and Inspiration
After carefully applying the appropriate stain and varnish to your wooden chest, you can now explore a multitude of customization ideas and seek inspiration to make your creation truly unique and personalized.
Here are three customization options and design inspirations to consider:
- Hardware: Upgrade the hardware on your wooden chest to add a touch of elegance or rustic charm. Choose from a variety of knobs, handles, or hinges that complement the overall design and theme of your chest.
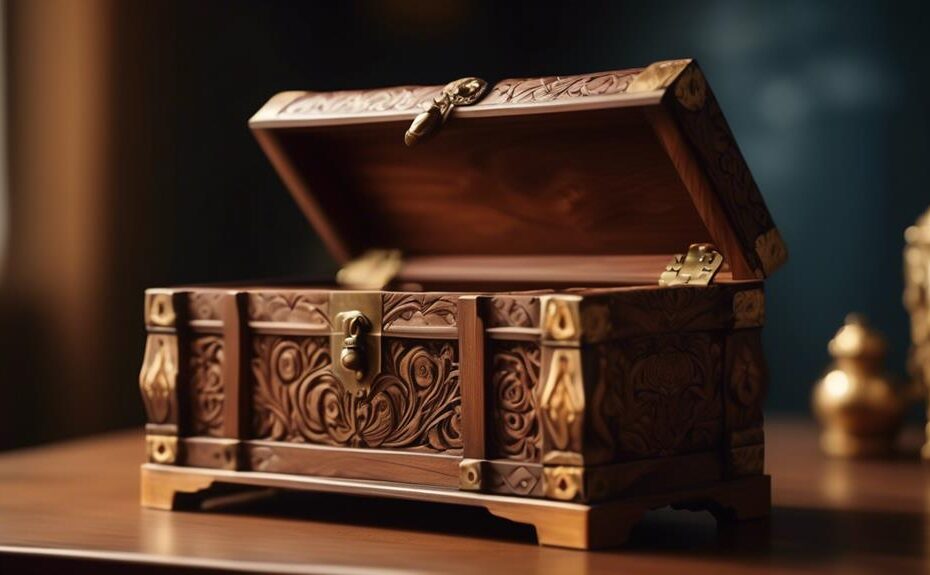
- Carvings or Engravings: Personalize your wooden chest by adding intricate carvings or engravings. This can include initials, names, or even elaborate designs that reflect your personality or interests. Consider consulting a professional woodworker for guidance on achieving the desired effect.
- Paint or Stencil: If you prefer a more vibrant and artistic look, consider painting your wooden chest or using stencils to create patterns or designs. This allows for endless possibilities and allows you to match the chest with your existing decor or color scheme.
Frequently Asked Questions
What Are Some Common Mistakes to Avoid When Building a Chest?
When building a chest, it is important to be aware of common mistakes and take necessary safety precautions. These can include improper measuring and cutting, neglecting to secure joints properly, and not using appropriate safety equipment.
Are There Any Safety Precautions to Keep in Mind While Working on the Chest?
When working on a woodworking project involving a chest, it is crucial to prioritize safety measures. Proper handling techniques for woodworking tools should be followed to minimize the risk of accidents and ensure a successful outcome.
How Do I Choose the Right Type of Wood for My Chest?
When choosing wood for a chest, it is important to consider the desired characteristics such as strength, durability, and appearance. Factors like grain pattern, color, and stability must also be evaluated to ensure the wood meets the project's requirements.
Can I Modify the Dimensions of the Chest to Fit My Specific Needs?
Modifying the dimensions of a chest to fit specific needs is a common practice in woodworking. Experienced craftsmen understand the importance of customizing dimensions to achieve optimal functionality and aesthetic appeal.
What Are Some Creative Ways to Incorporate Additional Storage Features Into the Chest Design?
To maximize storage in a chest design, consider incorporating hidden compartments and utilizing vertical space. These creative additions not only add functionality but also enhance the overall aesthetic appeal of the piece.
Conclusion
In conclusion, the chest woodworking plans provide a comprehensive guide for constructing a beautiful and functional chest. With the right materials and tools, followed by a step-by-step construction process, one can create a masterpiece.
The finishing techniques and tips ensure a professional and polished look. Additionally, the article offers customization ideas and inspiration for those looking to add a personal touch.
By following these detailed instructions, one can embark on a woodworking journey with confidence and finesse, ultimately creating a chest to be proud of.
As they say, 'The devil is in the details.'
