Building a wooden workbench is a practical and rewarding DIY project. With the right materials and tools, you can create a durable and functional workspace for all your projects. In this step-by-step guide, we will walk you through the process of building a wooden workbench using a solid-core wooden door as the bench top and a frame made of 2×4 lumber. With affordable materials and basic woodworking skills, you can create a custom workbench that suits your needs.

Key Takeaways:
- Building a wooden workbench is a DIY project that provides a sturdy and versatile workspace.
- Using a solid-core wooden door as the bench top and a frame made of 2×4 lumber is a cost-effective approach.
- Basic woodworking skills and common tools are sufficient for constructing a wooden workbench.
- Adding optional features like a storage shelf or bench vise can enhance the functionality of your workbench.
- Proper care and maintenance ensure the longevity of your wooden workbench.
Gathering Materials and Tools
Before you dive into the construction of your wooden workbench, it's crucial to gather all the necessary materials and tools. By ensuring you have everything you need at the beginning, you can streamline the building process and avoid unnecessary delays.
Materials
The following materials are essential for this project:
- A 36 by 80 inch solid core wooden door
- 10 2x4s, each 8 feet long
- Screws for fastening the components
- Steel angle brackets for increased stability
- Optional plywood for constructing a shelf
With these materials, you'll have a solid foundation for your workbench construction. The solid-core wooden door will serve as the bench top, providing a sturdy and durable work surface. The 2x4s will be used to create the frame, ensuring stability and support.
Tools
To assemble your workbench, you'll need the following tools:
- A power miter box saw for precise and accurate cuts
- A cordless screw gun for efficient fastening of screws
- A cordless drill for drilling holes
- A tape measure for taking accurate measurements
- A carpenter's square for ensuring right angles
- A pencil for marking guidelines
Having these tools at your disposal will enable you to complete the workbench construction smoothly and efficiently. They are essential for accurate measuring, cutting, drilling, and fastening.
With all the necessary materials and tools ready, you are now equipped to begin the construction of your wooden workbench. The next section will guide you through the process of building the frame, the foundational structure of your workbench.
Building the Frame
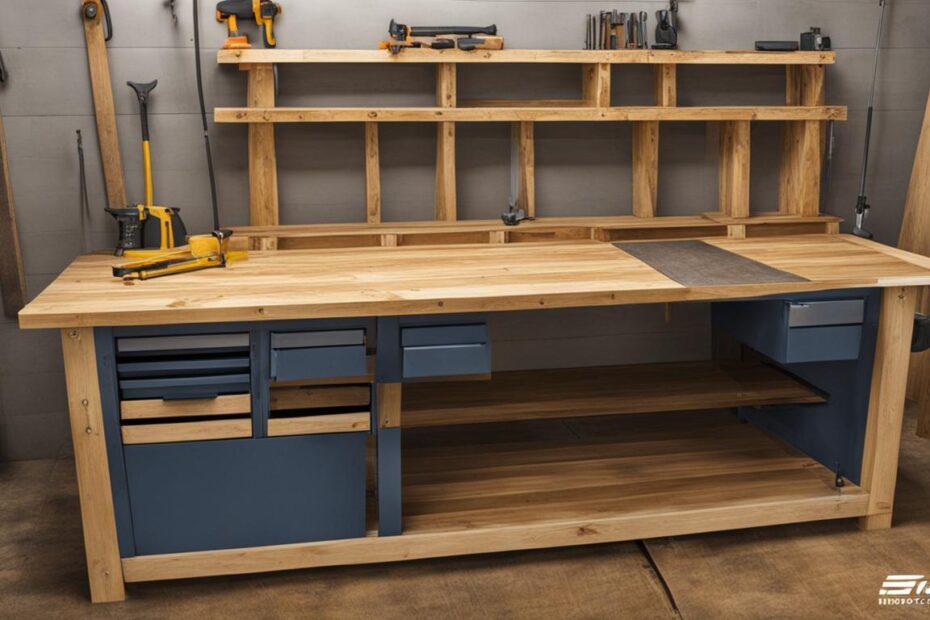
The frame is the foundation of your workbench, providing stability and support. To build the frame, you will need to cut and assemble two rectangles made from 2x4s, measuring 76 inches long by 32 inches wide. Additionally, you will need four legs measuring 32 inches long. The top of the workbench should overhang the frame by 2 inches on every side to allow for clamping. Once the components are cut, they can be assembled using screws and pre-drilled holes. Attaching the legs to the frame will complete the basic structure of your workbench.

Use the provided image as a reference for building the frame of your wooden workbench. The image showcases the proper dimensions and assembly process for creating a sturdy and functional workbench frame.

| Materials Needed | Tools Required |
|---|---|
|
|
Attaching the Top and Finishing Touches
Now that the frame of your wooden workbench is complete, it's time to attach the solid-core wooden door to create the top surface. This step will ensure stability and provide a sturdy work surface for all your projects.
To begin, lay the solid-core wooden door on the floor. Then, carefully place the frame upside down on top of the door, making sure to position it with a 2-inch overhang on all sides. This overhang will allow for easy clamping and provide extra workspace.
Next, it's time to secure the top to the frame. Use angle brackets and screws to firmly attach the wooden door to the frame. Make sure to position the brackets at regular intervals along the edges of the door for maximum support and stability.
By attaching the top to the frame, you'll create a stable workbench surface that can withstand heavy-duty use. This step is crucial for ensuring the longevity and functionality of your workbench.
Pro Tip: Adding additional finishing touches can enhance the functionality and convenience of your workbench. Consider attaching a plywood shelf underneath the benchtop to create extra storage space for your tools and materials. You can also install a power strip to easily plug in and power your tools, saving you time and effort. Applying a protective finish to the top surface will help preserve the wood and prevent damage from spills and scratches. Lastly, installing a bench vise can provide added versatility and enable you to securely hold objects while working.

The finishing touches you choose to incorporate into your wooden workbench can make it truly personalized and tailored to your needs. Whether you're a DIY enthusiast or a professional woodworker, these additional features can greatly enhance your overall workbench experience.
Now that your workbench is complete, you're ready to tackle a wide range of projects with ease and efficiency. From woodworking to home repairs, your custom-built wooden workbench will be a reliable and durable workspace for years to come.
Conclusion
Building a wooden workbench can greatly enhance your DIY projects by providing a sturdy and versatile workspace. By following this comprehensive tutorial, you can create a custom workbench that perfectly suits your specific needs.
Remember to start by gathering all the necessary materials and tools, as outlined in Section 2. Having everything you need on hand will ensure a smooth and efficient construction process.
Next, focus on building a strong and stable frame, as discussed in Section 3. The frame serves as the foundation of your workbench and provides the necessary support. By carefully measuring and assembling the 2×4 components, you can create a sturdy base that will withstand heavy use.
Once the frame is complete, move on to attaching the top and adding the finishing touches, as explained in Section 4. By securely fastening the solid-core wooden door to the frame, you will create a stable and durable work surface. Additionally, incorporating optional features such as a storage shelf or bench vise can further enhance the functionality of your workbench.
With proper care and maintenance, your wooden workbench will provide many years of reliable service for all your projects. Regular cleaning and applying a protective finish will help preserve its condition over time. By following this wooden workbench tutorial and design guide, you can enjoy the benefits of a custom-built workspace that will support your DIY endeavors for years to come.
FAQ
Can I use any type of wooden door for the top of my workbench?
It is recommended to use a solid-core wooden door for the top of your workbench. This type of door provides strength and stability, making it ideal for a work surface.
How do I determine the dimensions of the frame for my workbench?
The frame should be constructed to match the dimensions of your wooden door. Measure the length and width of the door and subtract 4 inches from each measurement to allow for a 2-inch overhang on all sides.
Can I add a storage shelf to my workbench?
Yes, you can attach a plywood shelf to the frame of your workbench for additional storage space. This can be done by cutting a piece of plywood to fit between the legs of the frame and attaching it with screws.
Should I apply a protective finish to the top of my workbench?
Applying a protective finish, such as polyurethane, to the top of your workbench can help protect it from moisture, stains, and wear and tear. It will also give it a smooth and polished appearance.
What is the purpose of a bench vise and how do I install one?
A bench vise is a versatile tool that can hold materials securely in place while you work on them. It can be installed by mounting it to the edge of your workbench top using the included hardware.
