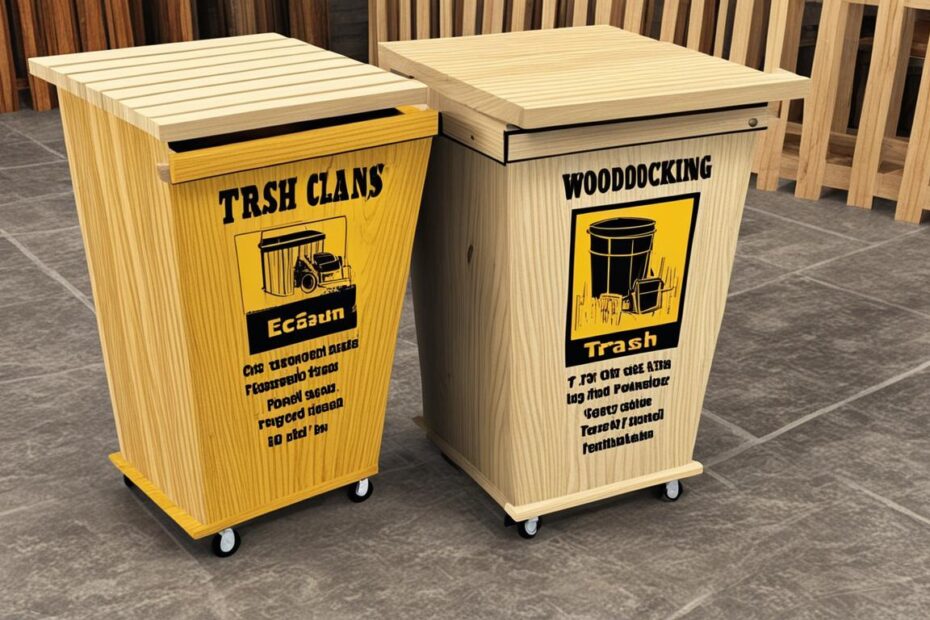
If you are looking to create a functional and stylish waste receptacle for your home, we have expert-designed trash can woodworking plans to guide you through the process. These plans can be adapted and customized to fit your specific needs and style preferences. With step-by-step instructions, you'll be able to build a wooden trash can using materials like 1x12x96″ boards, pocket hole screws, wood glue, hinges, and a finish of your choice. Whether you want a basic design or something more advanced, these plans provide all the guidance you need to create a beautiful trash can.
Key Takeaways:
- Build your own wooden trash can with our expert-designed woodworking plans.
- Customize the design to suit your specific needs and style preferences.
- Materials needed include 1x12x96″ boards, pocket hole screws, wood glue, hinges, and a finish of your choice.
- Follow step-by-step instructions to ensure a successful construction.
- Let your creativity shine by exploring customization options and ideas.
Materials and Tools Needed
To embark on your woodworking project, you'll need to gather the necessary materials and tools. The materials required for building a trash can include:
- Two 1x12x96″ boards
- Pocket hole screws
- Wood glue
- Hinges
- A finish of your choice
In addition to these main materials, you may need the following:
- 1×3″ and 1×2″ boards
- 1/4″ plywood for specific parts of the construction
When it comes to tools, make sure you have the following:
- A pocket hole jig
- Brad nails
- A chisel
- Sandpaper
Having these materials and tools ready will ensure a smooth and efficient trash can building process.
Materials and Tools
| Materials | Tools |
|---|---|
|
|
Having the right materials and tools ensures that you can smoothly progress through the woodworking project. With these items at your disposal, you'll be well-prepared to bring your trash can design plans to life.
Step-by-Step Instructions
Follow these step-by-step trash can woodworking plans to successfully build your own wooden trash can. Let's get started:
Gather the Materials
Before diving into the construction process, ensure you have all the necessary materials:
- Two 1x12x96″ boards
- Pocket hole screws
- Wood glue
- Hinges
- A finish of your choice
- 1×3″ and 1×2″ boards (additional)
- 1/4″ plywood (additional)
Cut and Prepare the Pieces
Using the provided cutlist, carefully cut out all the necessary pieces for your trash can.
Assemble the Legs
- Apply wood glue to the ends of the 1×12″ boards forming the legs.
- Secure the glued ends with brad nails, ensuring a strong bond.
- Consider adding decorative details to the bottom of the legs for added stability and visual appeal.
Attach the Can to the Base
- Using pocket holes or butt joints, attach the can to the base piece.
- Ensure the height of the can is set correctly.
Construct the Lid Assembly
- Drill pocket holes on the side pieces of the lid.
- Attach the front and back pieces to the side pieces using the pocket holes.
Install the Top Piece and Support Strips
- Install the top piece of the lid assembly.
- Attach support strips to ensure the lid sits securely on the can.
Final Touches
- Sand the entire trash can, smoothing any rough edges or surfaces.
- Apply your chosen finish to protect and enhance the wood's appearance.
- Attach the lid to the can using hinges, ensuring it opens and closes smoothly.
Congratulations! You've successfully completed the construction of your own wooden trash can. Now it's time to enjoy the functional and stylish addition to your home.
Required Materials
| Materials | Quantity |
|---|---|
| 1x12x96″ boards | 2 |
| Pocket hole screws | Varies |
| Wood glue | Varies |
| Hinges | 2 |
| Finish of your choice | Varies |
| 1×3″ and 1×2″ boards (additional) | Varies |
| 1/4″ plywood (additional) | Varies |
Customization Options and Ideas
One of the great aspects of these trash can woodworking plans is their versatility and ability to be customized. You can adapt the design to suit your specific needs and requirements. For example, you can replace the front leg with shelves or add a paper stop on top to create an instant podium. Consider making smaller versions of the trash can for storing items like onions and potatoes. You can even create a base with a cut-out to make an automatic dog feeder. Let your creativity run wild and turn this project into your own unique creation.
Customization Ideas:
- Replace the front leg with shelves for additional storage space
- Add a paper stop on top to create an instant podium
- Create smaller versions of the trash can for storing onions and potatoes
- Make a base with a cut-out to create an automatic dog feeder
With these unique customization options, you can personalize your homemade trash can to fulfill not only its basic function but also serve additional purposes. Whether you need extra storage or want to incorporate it into other aspects of your home, the possibilities are endless. Let your imagination guide you and create a trash can that reflects your style and meets your specific needs.

Comparing Different Customizations
| Customization | Description |
|---|---|
| Shelves Instead of Front Leg | Provides additional storage space for small items |
| Paper Stop on Top | Transforms the trash can into an instant podium or workstation |
| Smaller Versions | Perfect for storing onions, potatoes, or other kitchen essentials |
| Base with Cut-Out | Creates an automatic dog feeder, making feeding time more convenient |
By comparing these different customizations, you can choose the ones that best suit your needs and preferences. Decide whether you need additional storage, a functional podium, or a specialized version for specific items. Remember, the goal is to create a trash can that not only serves its purpose but also adds value to your home and lifestyle.
Conclusion:Trash Can Woodworking Plans
Building a wooden trash can using our expert-designed plans is a rewarding and satisfying project. Our detailed instructions and customizable design allow you to create a functional and attractive waste receptacle for your home. Whether you are an experienced woodworker or a novice looking for a new DIY project, our plans provide all the guidance you need to successfully build a wooden trash can.
By following our step-by-step instructions, you can confidently embark on this woodworking endeavor. Gather your materials, including 1x12x96″ boards, pocket hole screws, wood glue, hinges, and a finish of your choice, and let your creativity shine as you bring your custom trash can to life.
With our trash can build plans, you have the opportunity to add your personal touch and adapt the design to suit your specific needs. Consider customizing your trash can with shelves, a paper stop, or even creating a smaller version for storing items like onions and potatoes. The possibilities are endless, and your trash can can become a unique addition to your home.
So, whether you're passionate about woodworking or simply looking for a new project, our woodworking plans for trash cans are the perfect solution. Get started today and enjoy the satisfaction of building a functional and stylish piece that enhances both your space and organization.
FAQ
What materials do I need to build a wooden trash can?
To build a wooden trash can, you will need two 1x12x96″ boards, pocket hole screws, wood glue, hinges, and a finish of your choice. Additional materials may include 1×3″ and 1×2″ boards, as well as 1/4″ plywood for specific parts of the construction.
What tools are required for building a wooden trash can?
What are the step-by-step instructions for building a wooden trash can?
The step-by-step instructions for building a wooden trash can include cutting all the necessary pieces according to the provided cutlist, assembling the legs using glue and nails, attaching the can to the base, constructing the lid assembly, installing the top piece, and finally sanding, finishing, and attaching the lid using hinges.
Can I customize the design of the wooden trash can?
Yes, the wooden trash can plans allow for customization. You can adapt the design to suit your specific needs and requirements. For example, you can replace the front leg with shelves, add a paper stop on top, or create smaller versions of the trash can for storing items like onions and potatoes.
Are there any ideas for customizing the wooden trash can?
Yes, there are many ideas for customizing the wooden trash can. You can make smaller versions for storing items, create a base with a cut-out for an automatic dog feeder, or add unique details and embellishments to personalize the design.


