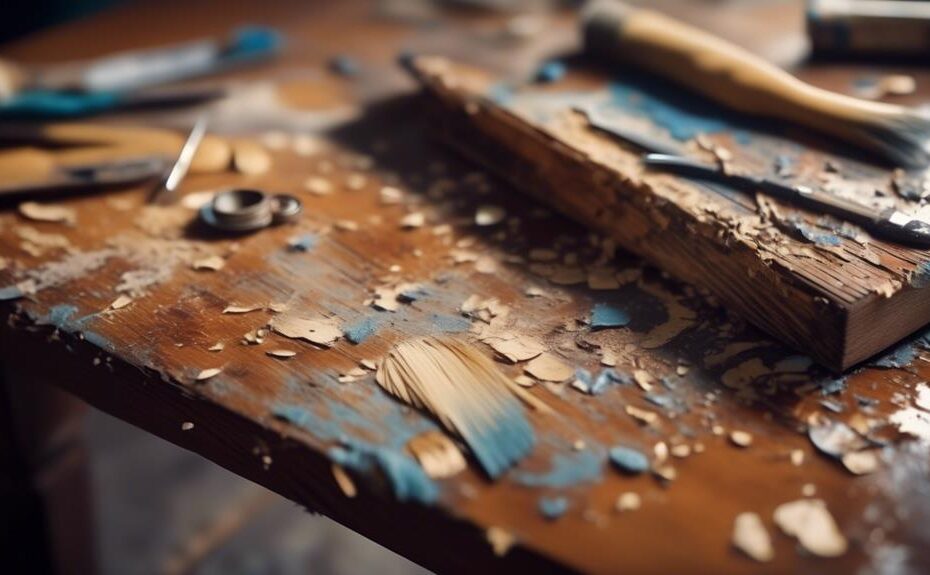
How to Refinish a Wooden Table: A Step-by-Step Guide
Refinishing a wooden table can be a satisfying project that revitalizes a worn-out piece of furniture. With careful planning, attention to detail, and the right tools, you can transform your table into a stunning centerpiece for your space.
In this comprehensive guide, we'll walk you through the process of assessing the table's condition, choosing the right materials, and applying a fresh finish.
Get ready to uncover the secrets to achieving a beautifully restored wooden table that you'll treasure for years to come.
Key Takeaways
- Thoroughly examine the table surface for scratches, gouges, gaps, and cracks before starting the refinishing process.
- Gather high-quality refinishing products and appropriate tools suitable for the type of wood and desired finish.
- Properly strip the old finish using a suitable stripping agent and gentle scraping techniques.
- Apply multiple thin coats of the new finish, working in the direction of the wood grain, and allow each coat to dry completely before applying the next one.
Assess the Condition of the Table
Before beginning the process of refinishing a wooden table, it is crucial to thoroughly assess the condition of the table to determine the extent of any damage or wear. This step is essential in order to develop an appropriate plan for restoration.
Start by examining the surface for any scratches or gouges. Scratches can often be repaired by sanding down the affected area and then applying a matching wood stain or finish. For deeper scratches, a wood filler may be necessary to level the surface before refinishing.
Additionally, inspect the table for any gaps or cracks in the wood. These gaps can be filled in using a wood filler or epoxy resin, ensuring a smooth and even surface.
Gather the Necessary Materials and Tools
To effectively refinish a wooden table, it is essential to gather the necessary materials and tools required for the process. Choosing the right refinishing products is crucial to achieve the desired outcome. These products include wood stain or paint, varnish or polyurethane, sandpaper with varying grits, wood filler, and a paintbrush or foam applicator. It is important to select high-quality products that are suitable for the type of wood and finish you desire.
In addition to the refinishing products, you will need various tools to prepare the surface for refinishing. These tools include a putty knife for removing old paint or varnish, a scraper for stubborn patches, sanding blocks or an electric sander for smoothing the surface, and a clean cloth for wiping away dust and debris.
It is advisable to have a well-ventilated workspace and wear protective gear such as gloves and safety goggles to ensure your safety throughout the refinishing process.
Strip the Old Finish

Once you have gathered the necessary materials and tools, the next step in refinishing a wooden table is to strip the old finish. This crucial step prepares the surface for a fresh coat of finish, ensuring a smooth and beautiful end result. To effectively strip the old finish from your table, follow these expert tips:
- Sanding techniques: Begin by lightly sanding the surface with fine-grit sandpaper to remove any roughness or imperfections. This will create a smooth base for the stripping agent to work effectively.
- Choosing the right stripping agent: Select a high-quality stripping agent that is suitable for the type of finish on your table. Consider factors such as the material of the table, the desired level of aggressiveness, and environmental concerns.
- Apply the stripping agent: Follow the manufacturer's instructions to apply the stripping agent evenly over the entire surface. Ensure that the agent is thick enough to effectively penetrate and lift the old finish.
- Allow sufficient dwell time: Let the stripping agent sit on the surface for the recommended amount of time to allow it to loosen the old finish. This may vary depending on the product and the thickness of the finish.
- Remove the old finish: Use a scraper or putty knife to gently scrape away the old finish. Be careful not to damage the wood underneath. Repeat the process if necessary until all the old finish is removed.
Apply the New Finish
Applying a new finish to a wooden table requires careful attention to detail and the use of the appropriate materials and techniques.
Before starting the application process, it is crucial to choose the right type of finish based on the desired look, durability, and maintenance requirements. Common options include polyurethane, varnish, lacquer, and oil-based finishes. Each type has its own application method and drying time, so it is important to read and follow the manufacturer's instructions.
To achieve a smooth and even finish, it is recommended to apply multiple thin coats rather than one thick coat. This helps to prevent drips, bubbles, and unevenness. Use a high-quality brush or a sprayer for an even application, and always work in the direction of the wood grain.
Allow each coat to dry completely before applying the next one, and lightly sand between coats for improved adhesion and a professional finish.
Frequently Asked Questions
How Long Does It Typically Take to Refinish a Wooden Table?
The average time it takes to refinish a wooden table depends on various factors such as the size of the table, the condition of the wood, and the complexity of the desired finish. Proper tools and techniques are necessary for a successful refinishing project.
Can I Refinish a Table That Has Deep Scratches or Gouges?
Repairing damaged wooden tables, such as those with deep scratches or gouges, is possible through a refinishing process. It involves sanding down the damaged areas, filling them with wood filler, and then applying the appropriate stain to ensure a seamless and professional-looking finish.
Are There Any Specific Safety Precautions I Should Take While Stripping the Old Finish?
When stripping the old finish from a wooden table, it is crucial to prioritize safety. Are you aware of the necessary safety precautions? This includes wearing appropriate safety equipment and ensuring proper ventilation in the workspace.
Can I Use a Different Type of Finish Than the One Recommended in the Article?
When considering different types of finishes for wooden tables, it is important to weigh the pros and cons. While it may be possible to use a different type of finish than recommended, it is crucial to consider factors such as durability, compatibility, and desired aesthetic outcome.
How Often Do I Need to Refinish a Wooden Table to Maintain Its Appearance?
The frequency of refinishing a wooden table to maintain its appearance depends on factors such as the type of finish used, the level of use the table receives, and the environmental conditions. Using high-quality products specifically designed for refinishing can help prolong the time between refinishing projects.
Conclusion
In conclusion, refinishing a wooden table requires careful assessment of its condition. This includes evaluating any damage, such as scratches or water stains, and determining the best approach to address them.
Gathering the necessary materials and tools is the next step in the refinishing process. This may include sandpaper, paint stripper, wood stain, and a sealant. Having all the necessary supplies on hand before beginning the project will help ensure a smooth and efficient process.
Stripping the old finish is a crucial step in refinishing a wooden table. This involves removing the existing finish, whether it be paint, varnish, or another type of coating. This can typically be done using a paint stripper or sandpaper, depending on the type of finish and the desired result.
Once the old finish has been stripped, applying a new finish is the final step in the refinishing process. This may involve staining the wood to enhance its color or applying a clear sealant to protect the surface. Taking the time to apply the new finish carefully and evenly will help ensure a professional-looking result.
Overall, refinishing a wooden table is a process that demands technical expertise and attention to detail. By following these steps, one can transform a tired and dull table into a stunning centerpiece that adds warmth and elegance to any space.


