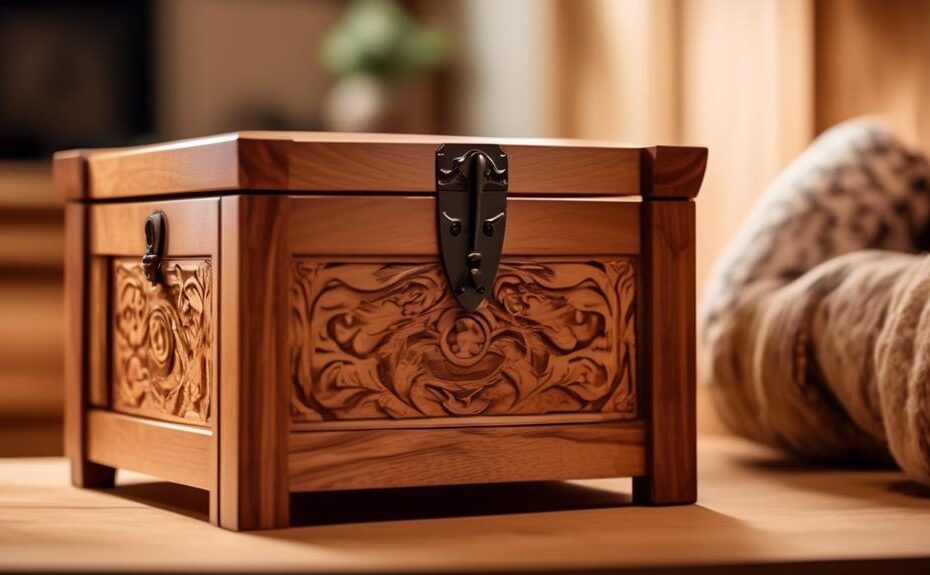
Toybox woodworking plans provide a practical and fulfilling project for woodworkers of all skill levels. Whether you're a seasoned craftsman or a beginner looking to enhance your woodworking skills, building a toybox can be a rewarding endeavor.
From choosing the right wood and essential tools to step-by-step assembly instructions and finishing touches, this discussion will guide you through the process of creating a beautiful and functional toybox.
Stay tuned to discover valuable tips and techniques that will help you achieve professional results while adding a personal touch to your project.
Key Takeaways
- Softwoods like pine and cedar are affordable and easy to work with, making them suitable for simpler woodworking techniques.
- Hardwoods like oak, maple, and cherry are more durable and have beautiful grain patterns, making them ideal for intricate woodworking techniques.
- Accurate measurement tools, cutting tools, joinery tools, and finishing materials are essential for successful toybox assembly.
- Safety precautions, such as wearing protective gear and working in a well-ventilated area, should be followed when using power tools and finishing materials.
Choosing the Right Wood
When selecting wood for your toybox, it is crucial to choose a material that is durable, aesthetically pleasing, and suitable for your specific woodworking needs.
For beginners in woodworking, it is important to understand the different types of wood and their characteristics. Softwoods, such as pine and cedar, are popular choices due to their affordability and ease of workability. They are suitable for simpler woodworking techniques and are known for their light color and natural grain patterns.
On the other hand, hardwoods like oak, maple, and cherry are more durable and resistant to wear and tear. They are ideal for more intricate woodworking techniques and are prized for their beautiful grain patterns and rich color variations.
Essential Tools and Materials
To successfully complete your toybox project, you will need a range of essential tools and materials that are necessary for precise and detailed woodworking. Here are four items that you should have in your woodworking arsenal:
- Measurement Tools: Accurate measurements are crucial for a well-designed toybox. Invest in a quality tape measure and a combination square to ensure precise cuts and angles.
- Cutting Tools: A circular saw or a table saw will be your go-to tools for cutting the wood pieces accurately. A jigsaw can also be handy for intricate cuts and curves.
- Joinery Tools: To assemble the toybox securely, you will need tools such as a drill/driver, screws, nails, and wood glue. A pocket hole jig can also be useful for hidden and sturdy joints.
- Finishing Materials: Sandpaper, wood stain, and varnish are essential for giving your toybox a polished and professional look. Consider using child-safe finishes and non-toxic paints.
Remember to always prioritize safety precautions when working with power tools. Wear protective gear, work in a well-ventilated area, and follow the manufacturer's instructions for safe operation.
With the right tools and materials, you can bring your toybox design ideas to life while ensuring a safe and enjoyable experience.
Step-by-Step Assembly Instructions

The assembly of the toybox begins by carefully aligning the sides and bottom panels to create a sturdy base. To ensure a precise fit, it is crucial to use clamps and check for any gaps or misalignments.
Once the base is secure, attach the back panel by aligning it with the sides and bottom, and secure it with screws or nails.
Next, attach the lid hinges, making sure they are properly aligned and allow for smooth opening and closing.
Finally, add any desired finishing touches, such as sanding and applying a protective finish.
Troubleshooting common assembly issues may include adjusting misaligned panels or tightening loose screws.
Safety precautions during woodworking assembly include wearing safety goggles, using clamps for stability, and working in a well-ventilated area to prevent exposure to harmful fumes.
Finishing Touches and Customization
To add a personal touch and enhance the overall aesthetic of the toybox, various finishing techniques and customization options can be employed. Consider the following options:
- Custom paint colors: Experiment with different paint colors to create a unique and eye-catching look for the toybox. Choose colors that complement the room's decor or reflect the child's personality.
- Adding decorative hardware: Enhance the visual appeal of the toybox by incorporating decorative hardware such as knobs, handles, or hinges. Opt for designs that match the theme of the toybox or add a playful touch.
- Stenciling or woodburning: Use stencils or woodburning tools to add intricate designs, patterns, or even the child's name to the toybox. This personalization adds a special touch and makes the toybox truly one-of-a-kind.
- Applying a protective finish: To ensure the longevity of the toybox, apply a protective finish such as varnish or polyurethane. This not only adds a professional touch but also safeguards the wood from scratches and wear.
Frequently Asked Questions
How Much Time Does It Typically Take to Complete a Toybox Using These Woodworking Plans?
Typical completion time for a woodworking project like a toybox varies depending on factors such as the complexity of the design and the skill level of the builder. However, for beginners, it may take several hours to a few days to complete.
Are the Woodworking Plans Suitable for Beginners or Are They More Advanced?
The woodworking plans cater to both beginners and more advanced individuals. They offer detailed instructions and a manageable learning curve for beginners, while also providing technical challenges for those seeking to enhance their skills and achieve mastery in woodworking.
Can the Toybox Be Easily Disassembled and Reassembled if Needed?
The toybox can be easily disassembled and reassembled if needed, making it highly portable. The disassembly process is straightforward and the reassembly process is equally simple, allowing for convenient transportation and storage.
Are There Any Safety Considerations or Precautions to Keep in Mind While Building the Toybox?
When building a toybox, it is important to consider safety considerations and take necessary precautions. This ensures the final product is safe for children, with measures such as rounded edges, non-toxic finishes, and proper ventilation.
Can the Woodworking Plans Be Modified to Accommodate Specific Toy Sizes or Storage Needs?
When considering the modification of toy sizes and customization of storage needs, it is essential to consult the woodworking plans. These plans provide detailed instructions and measurements that can guide the necessary adjustments for accommodating specific requirements.
Conclusion:Toybox Woodworking Plans
In conclusion, these toybox woodworking plans offer a comprehensive guide to creating a beautiful and functional toy storage solution.
By carefully selecting the right wood, using essential tools and materials, and following step-by-step assembly instructions, the end result is a sturdy and durable toybox that can be customized to fit any style or preference.
With its detailed and precise instructions, this woodworking project is sure to ignite a sense of excitement and accomplishment in the audience.


